Alright folks, let’s dive into something that’s both super useful and kinda geeky at the same time. If you’re here, chances are you’ve heard about Raspberry Pi SSH tunnel and are curious to know more. Whether you’re a tech enthusiast, a hobbyist, or someone who just wants to boost their cybersecurity game, this guide is for you. So, buckle up, because we’re about to unravel the mysteries of SSH tunnels on Raspberry Pi and why they’re such a big deal.
Raspberry Pi has become a household name among techies, makers, and even beginners who want to dip their toes into the world of computing. But what happens when you need to access your Pi remotely? That’s where SSH comes in. SSH, or Secure Shell, is like a secret handshake that lets you control your Raspberry Pi from anywhere in the world. And if you’re worried about security, an SSH tunnel is your best friend.
In this article, we’ll break down everything you need to know about Raspberry Pi SSH tunnels. From setting them up to troubleshooting common issues, we’ve got you covered. So, whether you’re looking to secure your data, access files remotely, or simply learn something new, this guide will be your go-to resource. Let’s get started!
- Princess Leonor And Gavi A Royal Romance Unveiled
- Stella Haven Walsh The Untold Story Of A Legend Who Redefined Sports
Table of Contents
- What is SSH?
- Raspberry Pi Overview
- Why Use SSH Tunnel?
- Setting Up SSH on Raspberry Pi
- Creating an SSH Tunnel
- Security Best Practices
- Troubleshooting Common Issues
- Real-World Use Cases
- Tools and Resources
- Conclusion
What is SSH?
Before we dive into Raspberry Pi SSH tunnel, let’s take a step back and talk about what SSH actually is. SSH, or Secure Shell, is a network protocol that allows you to securely connect to a remote computer or server. It’s like a virtual hallway where you can walk around without anyone peeking over your shoulder. SSH encrypts all the data that flows between your device and the remote system, making it super secure.
Now, why is this important? Well, imagine you’re working on a project and need to access your Raspberry Pi from another location. Without SSH, you’d have to expose your Pi to the internet, which is a big no-no when it comes to security. But with SSH, you can create a secure connection that keeps prying eyes out.
And here’s the kicker: SSH isn’t just for accessing your Pi. You can use it to transfer files, run commands, and even set up port forwarding. So, it’s like having a Swiss Army knife in your tech toolkit.
- Les Kassos Watch Online The Ultimate Guide To Streaming This Iconic Show
- Why Filmyflyfun Is The Ultimate Destination For Movie Buffs
SSH vs Telnet: What’s the Difference?
Back in the day, people used Telnet to connect to remote systems. But Telnet was like leaving your front door wide open—everything was sent in plain text, making it easy for hackers to snoop around. SSH, on the other hand, encrypts all the data, keeping your info safe and sound.
Here’s a quick comparison:
- Telnet: No encryption, easy to hack.
- SSH: Encrypted, secure, and reliable.
So, if you’re still using Telnet, it’s time to upgrade to SSH. Trust me, your data will thank you for it.
Raspberry Pi Overview
Now that we’ve got SSH covered, let’s talk about the star of the show: Raspberry Pi. For those who don’t know, Raspberry Pi is a tiny but powerful computer that’s perfect for all sorts of projects. Whether you’re building a home automation system, setting up a media center, or experimenting with IoT devices, Raspberry Pi has got you covered.
One of the coolest things about Raspberry Pi is its versatility. You can use it as a regular computer, a server, or even a gaming console. And with its low cost and compact size, it’s no wonder why it’s become so popular among tech enthusiasts.
But here’s the thing: if you want to access your Pi remotely, you’ll need to set up SSH. And if you want to take things a step further, an SSH tunnel can help you secure your connection and keep your data safe.
Raspberry Pi Models: Which One Should You Use?
There are several models of Raspberry Pi, each with its own strengths and weaknesses. Here’s a quick rundown:
- Raspberry Pi 4: The latest and greatest, with more power and features.
- Raspberry Pi 3: Still a solid choice for most projects.
- Raspberry Pi Zero: Tiny and affordable, perfect for lightweight tasks.
No matter which model you choose, setting up SSH is pretty much the same. So, don’t worry too much about which one you have—just focus on getting that secure connection up and running.
Why Use SSH Tunnel?
Alright, so you know what SSH is and you’ve got your Raspberry Pi ready to go. But why bother with an SSH tunnel? Well, here’s the deal: an SSH tunnel is like a supercharged version of SSH. It allows you to encrypt not just your SSH connection, but also other types of traffic, like web browsing or file transfers.
Here are a few reasons why you might want to use an SSH tunnel:
- Security: Encrypt all your traffic to keep prying eyes out.
- Privacy: Hide your IP address and location from websites and services.
- Access: Bypass firewalls and restrictions to access blocked websites.
So, whether you’re working from a coffee shop or connecting to your Pi from another country, an SSH tunnel can help you stay safe and secure.
How Does an SSH Tunnel Work?
Think of an SSH tunnel as a virtual pipeline that carries your data from one place to another. When you set up an SSH tunnel, you’re essentially creating a secure connection between your local machine and your Raspberry Pi. All the data that flows through this connection is encrypted, making it much harder for hackers to intercept.
Here’s how it works:
- You connect to your Raspberry Pi using SSH.
- You configure the tunnel to forward specific ports or services.
- All the data that flows through the tunnel is encrypted.
Simple, right? And the best part is, once you’ve set it up, it’s pretty much hands-free. You can sit back and enjoy the peace of mind that comes with knowing your data is safe.
Setting Up SSH on Raspberry Pi
Now that you know why SSH tunnels are so awesome, let’s talk about how to set them up on your Raspberry Pi. Don’t worry—it’s easier than it sounds. Follow these steps, and you’ll be up and running in no time.
Step 1: Enable SSH on Your Raspberry Pi
By default, SSH is disabled on Raspberry Pi. To enable it, you’ll need to log in to your Pi and run a few commands. Here’s how:
- Open the terminal on your Raspberry Pi.
- Type
sudo raspi-configand hit Enter. - Use the arrow keys to navigate to “Interfacing Options” and press Enter.
- Select “SSH” and enable it.
- Reboot your Raspberry Pi to apply the changes.
And just like that, SSH is enabled on your Pi. Easy, right?
Step 2: Find Your Pi’s IP Address
Before you can connect to your Pi remotely, you’ll need to know its IP address. Here’s how to find it:
- Open the terminal on your Raspberry Pi.
- Type
hostname -Iand hit Enter. - Copy the IP address that appears.
Now you’ve got everything you need to connect to your Pi from another device.
Creating an SSH Tunnel
Alright, let’s get to the good stuff: creating an SSH tunnel. This is where the magic happens. Follow these steps, and you’ll be able to securely access your Raspberry Pi from anywhere in the world.
Step 1: Install an SSH Client
Before you can create an SSH tunnel, you’ll need to install an SSH client on your local machine. If you’re using Linux or macOS, you’re in luck—SSH is already installed. But if you’re on Windows, you’ll need to download and install a program like PuTTY or OpenSSH.
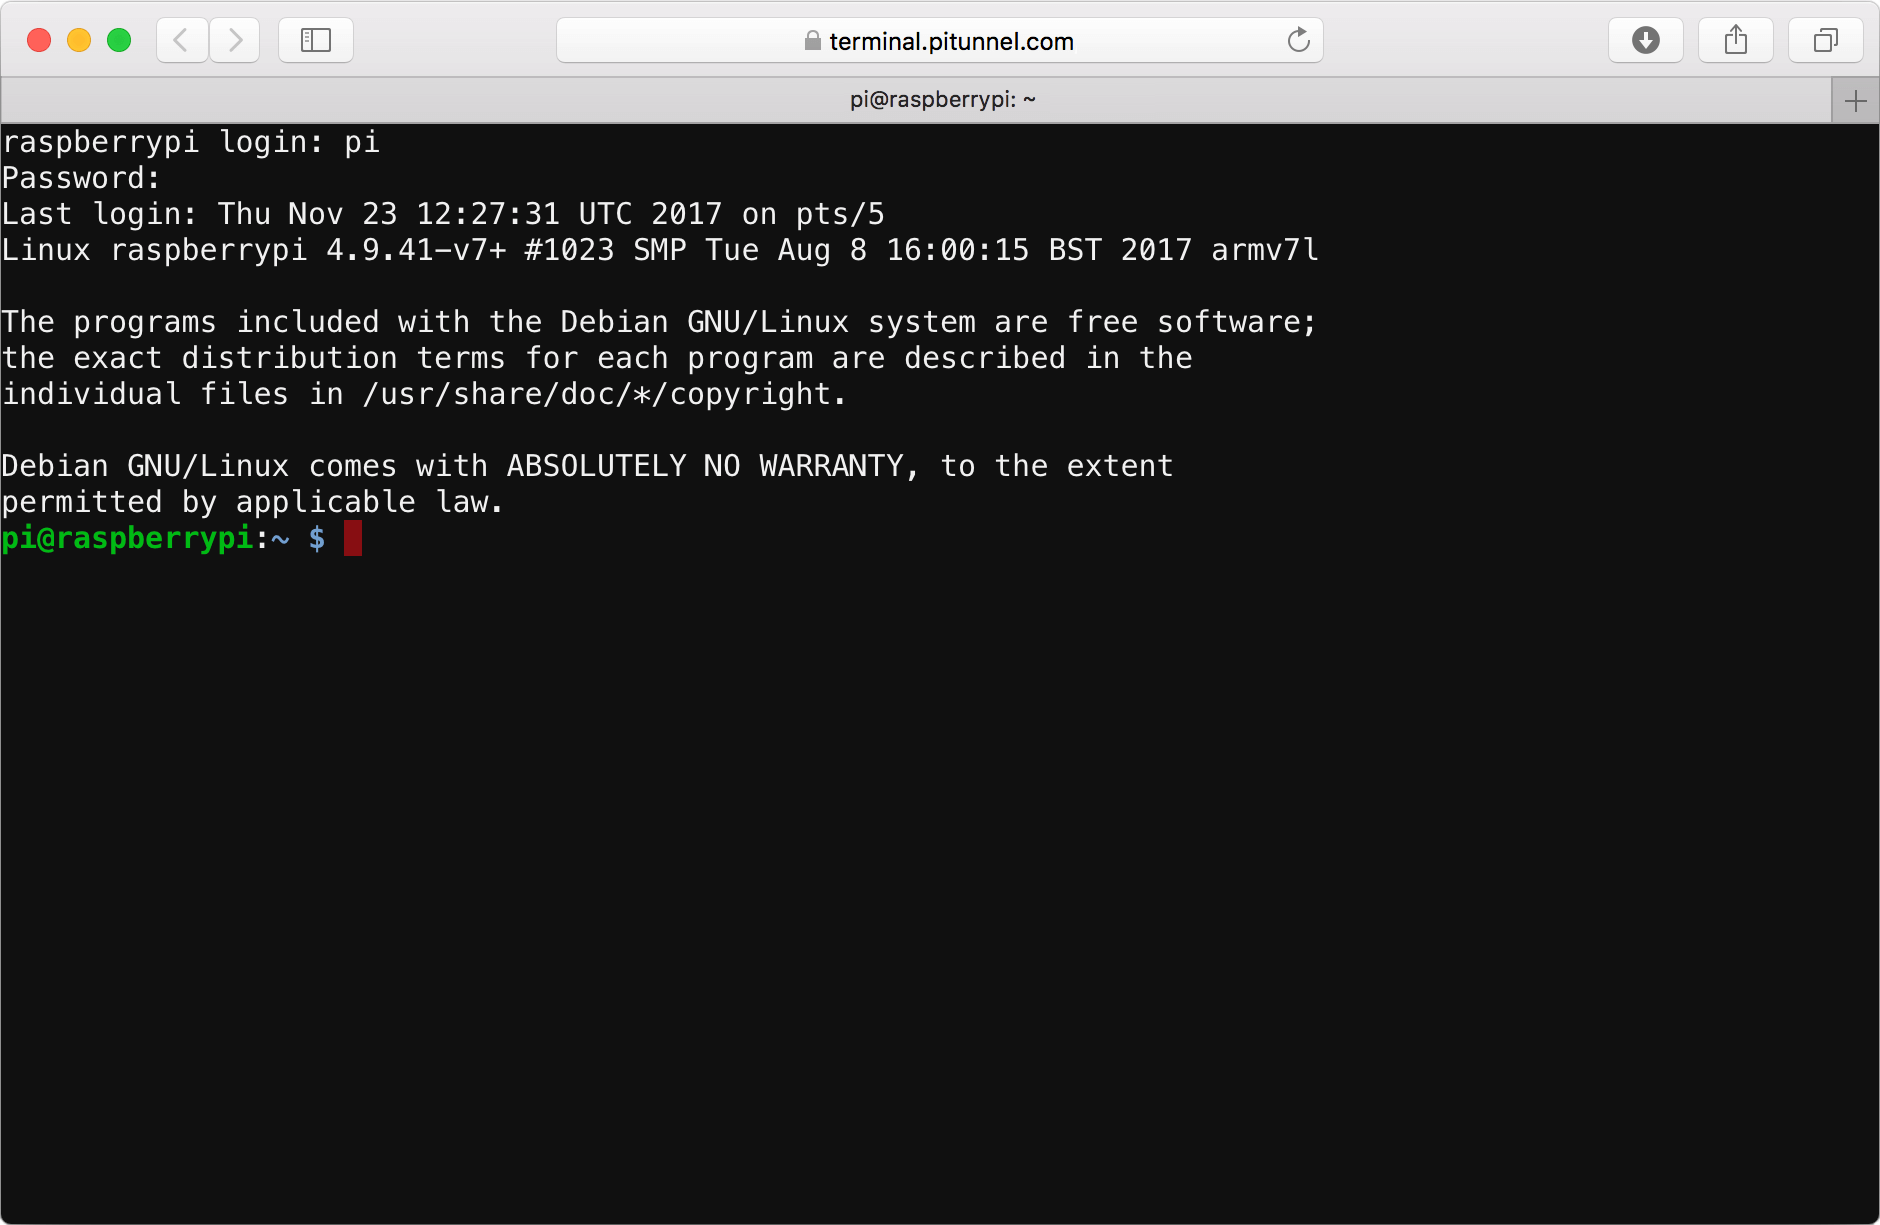
Step 2: Connect to Your Raspberry Pi
Once you’ve got your SSH client ready, it’s time to connect to your Raspberry Pi. Here’s how:
- Open your SSH client and enter the IP address of your Raspberry Pi.
- Enter your username and password when prompted.
- You should now be connected to your Pi.
Step 3: Set Up the Tunnel
Now that you’re connected, it’s time to set up the tunnel. Here’s how:
- Decide which ports you want to forward. For example, you might want to forward port 80 for web traffic.
- Use the
-Loption to specify the local port and the remote port. For example:ssh -L 8080:localhost:80 pi@your-pi-ip. - Once the tunnel is set up, you can access the forwarded service by pointing your browser to
localhost:8080.
And that’s it! You’ve now got a secure SSH tunnel up and running.
Security Best Practices
Now that you’ve got your SSH tunnel set up, it’s important to follow some security best practices to keep your data safe. Here are a few tips:
- Use Strong Passwords: Make sure your Raspberry Pi has a strong, unique password.
- Enable Key-Based Authentication: This adds an extra layer of security by requiring a private key to log in.
- Disable Root Login: Don’t allow the root user to log in over SSH—it’s just not worth the risk.
- Update Regularly: Keep your Raspberry Pi’s software up to date to protect against vulnerabilities.
By following these tips, you can help ensure that your SSH tunnel remains secure and reliable.
Troubleshooting Common Issues
Even the best-laid plans can go awry sometimes. If you’re having trouble with your Raspberry Pi SSH tunnel, here are a few common issues and how to fix them:
- Connection Refused: Make sure SSH is enabled on your Pi and that your firewall isn’t blocking the connection.
- Authentication Failed: Double-check your username and password, and make sure key-based authentication is set up correctly.
- Tunnel Not Working: Verify that the ports you’re forwarding are correct and that the service is running on your Pi.
If none of these solutions work, don’t hesitate to reach out to the Raspberry Pi community for help. There’s a whole network of people who are more than happy to lend a hand.
Real-World Use Cases
So, what can you actually do with a Raspberry Pi SSH tunnel? Here are a few real-world use cases:
- Remote Access: Access your Raspberry Pi from anywhere in the world.
- Secure Browsing: Use the tunnel to encrypt your web traffic and protect your privacy.
- File Transfer: Safely transfer files between your local machine and your Pi.
As you can see, the possibilities are endless. Whether you’re

Detail Author:
- Name : Ms. Annette Purdy
- Username : considine.clay
- Email : gerhold.antonio@gmail.com
- Birthdate : 2003-09-21
- Address : 23140 Russel Garden Suite 738 Braedenberg, WY 34866-8310
- Phone : +1-248-659-7501
- Company : Stokes-Kris
- Job : Child Care
- Bio : Error atque incidunt dignissimos ratione dolore et. Asperiores dolor nostrum numquam odit ipsum nulla.
Socials
tiktok:
- url : https://tiktok.com/@alexandra_id
- username : alexandra_id
- bio : Eaque quos quis ut dolor id. Dolorum voluptatem nostrum cupiditate occaecati.
- followers : 3714
- following : 669
instagram:
- url : https://instagram.com/alexandraruecker
- username : alexandraruecker
- bio : Adipisci quos aut sed illo odio earum tempore. Fugiat tempora in voluptas assumenda officiis.
- followers : 3808
- following : 491
