Imagine this—you're chilling at a café in Paris, sipping your favorite latte, and suddenly you realize you need to access your Raspberry Pi device back home in Chicago. How do you make that happen without losing your mind? Via SSH Raspberry Pi device from anywhere is not just a tech buzzword; it’s your gateway to remote control and flexibility. Whether you're a hobbyist, developer, or tech enthusiast, mastering SSH can change the game for you.
SSH, or Secure Shell, is like your personal superhero when it comes to remote access. It lets you securely connect to your Raspberry Pi from any corner of the globe. But here’s the thing—getting it right requires a bit of know-how. That's why we’re here! This guide will walk you through everything you need to set up and use SSH with your Raspberry Pi.
Before we dive deep, let me drop a quick fact: SSH isn’t just about typing commands on your terminal. It’s about creating a secure bridge between you and your device, no matter the distance. So grab your favorite drink, sit back, and let’s get started!
- Untold Wealth Julius Caesars Net Worth And Augustus Rise
- Fox News Salaries Revealed Peter Doocy Tyrus More
Why Should You Use SSH for Raspberry Pi?
Let’s face it—Raspberry Pi is more than just a tiny computer. It’s a powerhouse for innovation, whether you’re running home automation systems, setting up servers, or experimenting with IoT projects. But what happens when you’re not physically near your Pi? That’s where SSH steps in.
SSH offers a ton of benefits:
- Secure connection that keeps hackers at bay
- Remote access to your Pi from anywhere in the world
- No need for fancy hardware—just an internet connection
- Perfect for managing headless setups (no monitor or keyboard attached)
And here’s the kicker—it’s free! So why spend money on expensive software when SSH gives you all the tools you need?
- Jb Mauneys Net Worth 2024 How Rich Is The Bull Riding Legend
- Randy Savages Net Worth From The Ring To Riches Updated
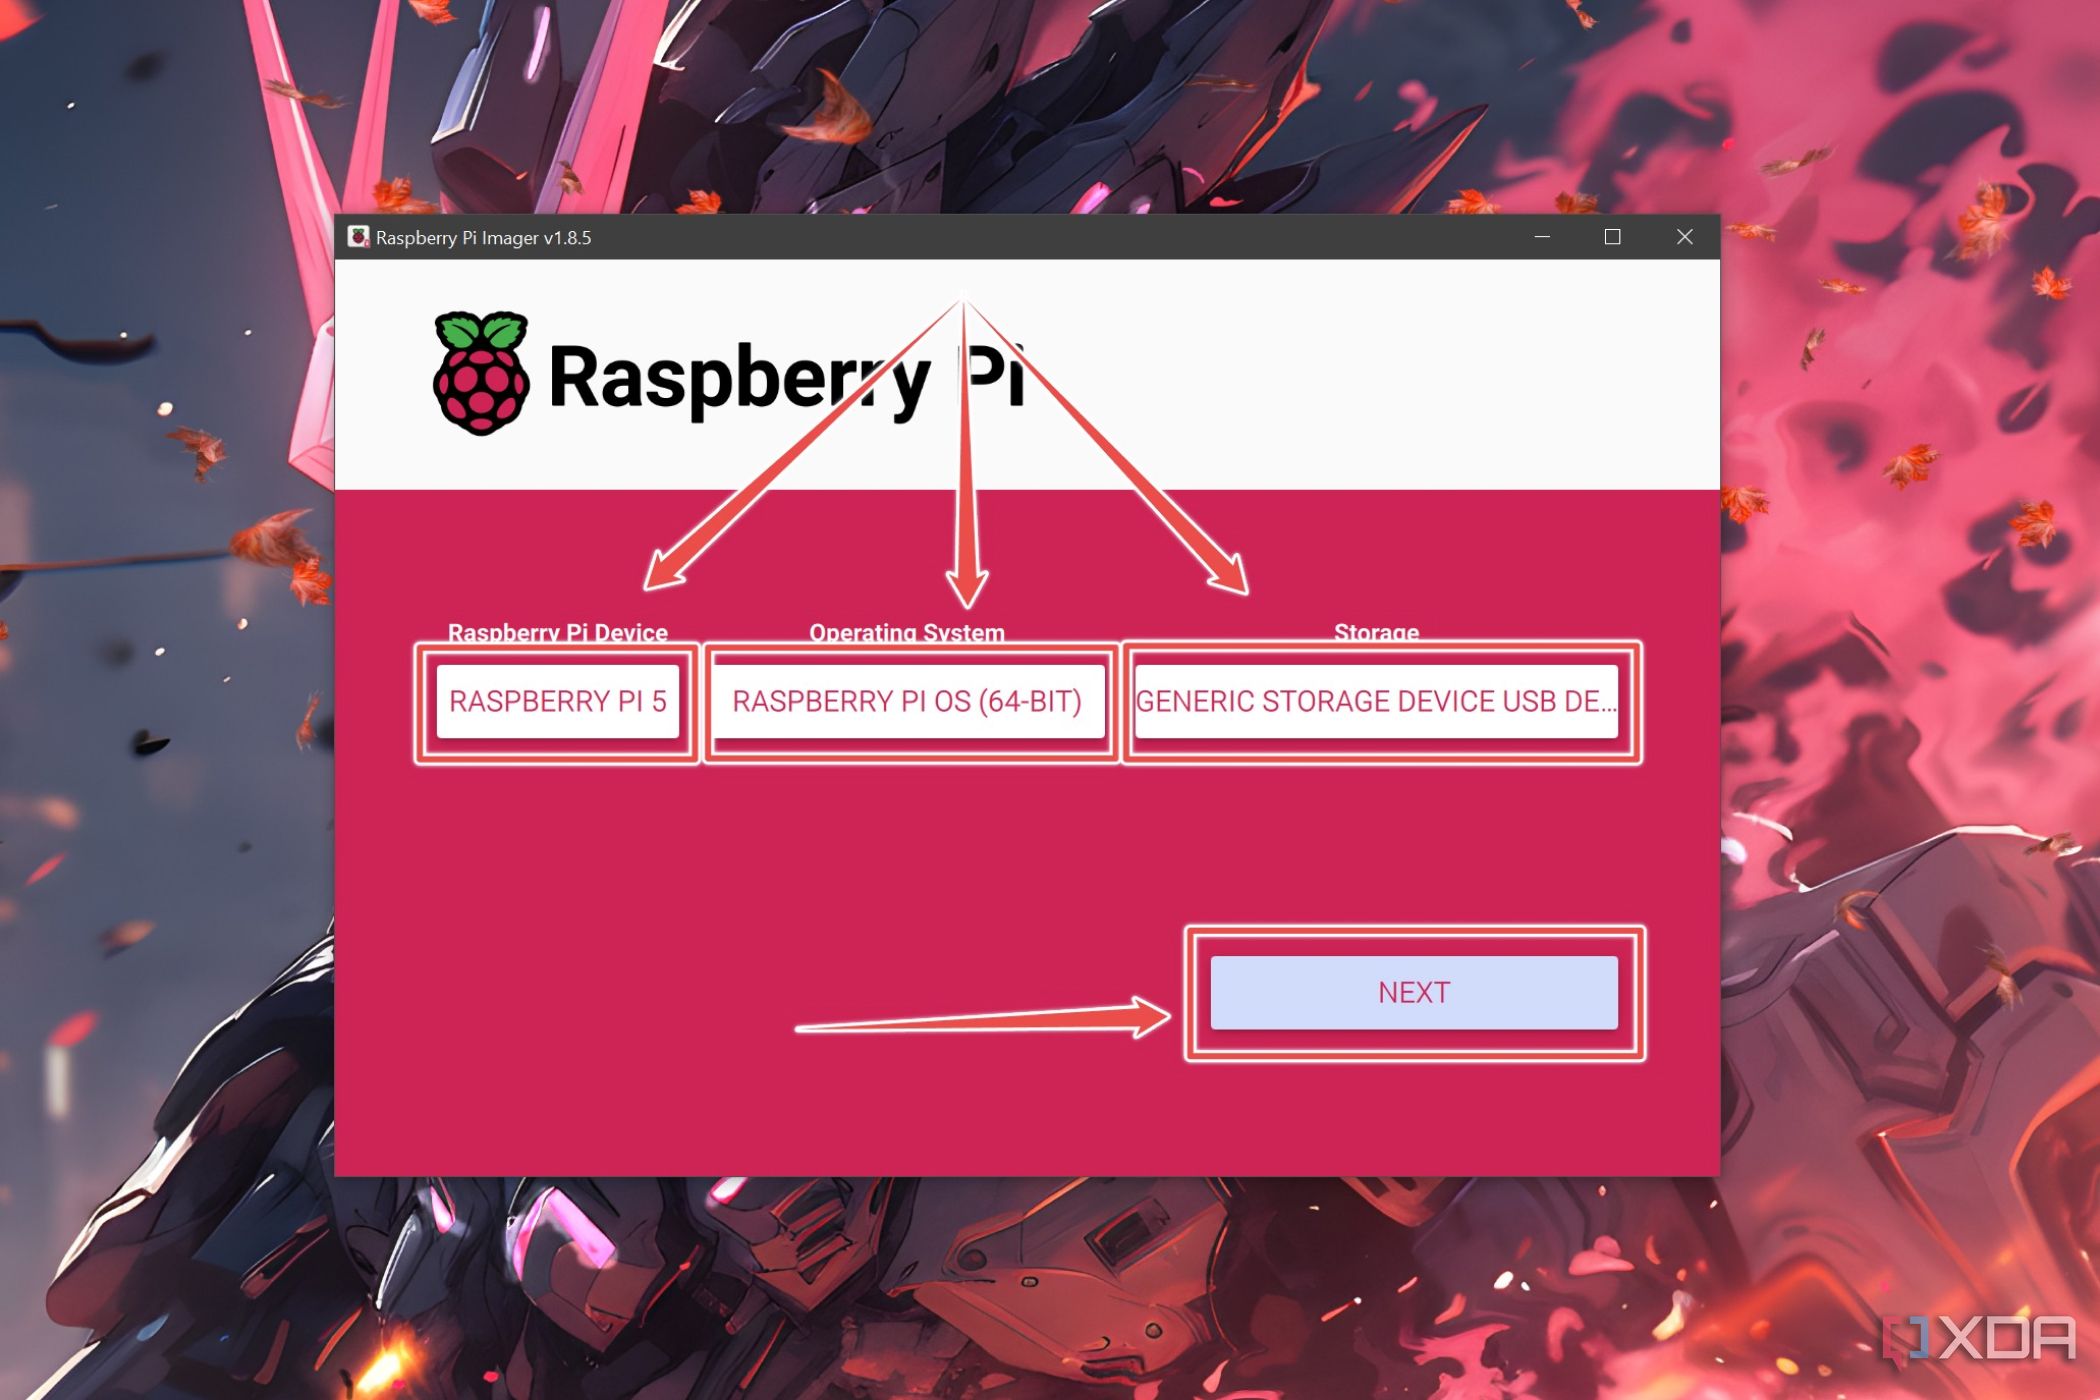
Setting Up SSH on Your Raspberry Pi
Alright, let’s get our hands dirty! The first step is enabling SSH on your Raspberry Pi. Don’t worry—it’s super easy, even if you’re a total beginner.
Step 1: Enable SSH via Raspberry Pi Configuration
Open your Raspberry Pi desktop and navigate to Preferences > Raspberry Pi Configuration. Click on the Interfaces tab, find SSH, and toggle it to Enabled. Boom! You’re done.
Step 2: Check SSH Status
Still unsure if SSH is up and running? Fire up the terminal and type:
sudo systemctl status ssh
If you see "active (running)," congratulations—you’ve successfully enabled SSH!
Connecting to Your Raspberry Pi via SSH
Now that SSH is enabled, it’s time to connect to your Pi from another device. Whether you’re using Windows, macOS, or Linux, the process is straightforward.
Using PuTTY for Windows Users
PuTTY is like the Swiss Army knife of SSH clients for Windows users. Here’s how you can use it:
- Download and install PuTTY from the official website
- Launch PuTTY and enter your Pi’s IP address in the Host Name field
- Set the port to 22 (default SSH port)
- Click Open and log in with your Pi’s credentials
Pro Tip: If you don’t know your Pi’s IP address, use tools like Advanced IP Scanner to find it quickly.
macOS and Linux Users: Terminal Is Your Best Friend
For macOS and Linux users, you don’t need fancy software. Just open your terminal and type:
ssh pi@
When prompted, enter your password, and voilà—you’re connected!
Securing Your SSH Connection
Security should always be a top priority, especially when dealing with remote access. Here’s how you can beef up your SSH setup:
Change the Default Port
Attackers often target the default SSH port (22). To stay safe, change it to something less obvious. Edit the SSH configuration file by running:
sudo nano /etc/ssh/sshd_config
Find the line that says "Port 22" and change it to a random number, like 2222. Save the file, restart SSH, and you’re good to go.
Disable Root Login
Root access is powerful but also risky. To disable it, open the SSH config file again and set:
PermitRootLogin no
This small tweak can save you a lot of headaches in the long run.
Accessing Your Raspberry Pi from Anywhere
Great! You’ve set up SSH and secured your connection. But what if you want to access your Pi from outside your local network? That’s where port forwarding and dynamic DNS come into play.
Port Forwarding: Bridging the Gap
Port forwarding allows devices outside your network to connect to your Pi. Here’s how to set it up:
- Log in to your router’s admin panel
- Find the Port Forwarding section
- Create a new rule with the external port (the one you changed earlier) and internal port 22
- Set the IP address to your Pi’s static IP
Now, anyone with your public IP address can reach your Pi.
Dynamic DNS: Keeping Things Simple
Public IPs can change, which makes connecting tricky. Enter dynamic DNS services like No-IP or DuckDNS. These services assign a fixed domain name to your changing IP, making it easier to access your Pi anytime, anywhere.
Troubleshooting Common SSH Issues
Even the best-laid plans sometimes hit a snag. Here are some common SSH issues and how to fix them:
Connection Refused
This usually happens when SSH isn’t enabled or the port is blocked. Double-check your SSH settings and ensure your router isn’t blocking the port.
Timeout Errors
If your connection times out, it might be due to a firewall or incorrect IP address. Verify your IP and disable any firewalls temporarily to test the connection.
Advanced SSH Techniques for Raspberry Pi
Once you’ve mastered the basics, it’s time to level up your SSH skills. Here are some advanced techniques to try:
SSH Tunnels
SSH tunnels are like secret passages that let you securely transfer data between devices. Use them to access web servers, databases, or other services running on your Pi.
SSH Keys for Passwordless Login
Tired of typing passwords every time you connect? Generate SSH keys by running:
ssh-keygen -t rsa
Copy the public key to your Pi and enjoy seamless, password-free logins.
Real-World Applications of SSH on Raspberry Pi
SSH isn’t just for tech geeks—it has practical applications in everyday life. Here are a few examples:
Home Automation
Control smart home devices from anywhere using SSH. Imagine adjusting your thermostat or turning off lights while you’re miles away.
Remote Backup
Set up a remote backup system to keep your important files safe. SSH ensures the transfer is secure and reliable.
Tools and Resources for SSH Enthusiasts
Here are some tools and resources to enhance your SSH experience:
- Putty: The go-to SSH client for Windows users
- WinSCP: A graphical SFTP client for file transfers
- SSHFS: Mount remote file systems securely
- Official Raspberry Pi Documentation: Your ultimate guide to all things Pi
Conclusion: Take Control of Your Raspberry Pi Anywhere
Via SSH Raspberry Pi device from anywhere is more than just a skill—it’s a superpower. With the right setup and security measures, you can access your Pi from any corner of the world. Whether you’re managing servers, automating your home, or tinkering with IoT projects, SSH opens up endless possibilities.
So what are you waiting for? Start experimenting with SSH today and take your Raspberry Pi projects to the next level. And hey, don’t forget to share this guide with your friends and leave a comment below if you have any questions. Happy hacking!
Table of Contents
- Why Should You Use SSH for Raspberry Pi?
- Setting Up SSH on Your Raspberry Pi
- Connecting to Your Raspberry Pi via SSH
- Securing Your SSH Connection
- Accessing Your Raspberry Pi from Anywhere
- Troubleshooting Common SSH Issues
- Advanced SSH Techniques for Raspberry Pi
- Real-World Applications of SSH on Raspberry Pi
- Tools and Resources for SSH Enthusiasts
- Conclusion: Take Control of Your Raspberry Pi Anywhere


Detail Author:
- Name : Kellie Morissette
- Username : branson.hackett
- Email : ptreutel@hermiston.com
- Birthdate : 1983-06-21
- Address : 8451 Buford Manor Jessieberg, IA 78411-8157
- Phone : +1.815.591.9315
- Company : Klein Group
- Job : Recreational Vehicle Service Technician
- Bio : Quia error magni ratione sit rerum. Illum optio possimus ipsam doloribus. Quasi sunt voluptatem qui magnam et nobis. Voluptatum est velit beatae voluptates. Eos voluptates doloremque quis explicabo.
Socials
instagram:
- url : https://instagram.com/hertha6232
- username : hertha6232
- bio : Natus accusamus voluptatibus corrupti dolores. Porro dolor non velit. Qui autem eos fuga.
- followers : 160
- following : 1148
linkedin:
- url : https://linkedin.com/in/herthaschaefer
- username : herthaschaefer
- bio : Magnam rerum quidem consequatur culpa aut ad.
- followers : 2718
- following : 1026
tiktok:
- url : https://tiktok.com/@schaeferh
- username : schaeferh
- bio : Voluptatem rem porro voluptatum necessitatibus consequatur rerum rem.
- followers : 6173
- following : 1020
twitter:
- url : https://twitter.com/hertha_xx
- username : hertha_xx
- bio : Inventore reiciendis qui similique quia qui. Doloribus sed error quo molestiae. Repellendus nisi et aut labore sunt esse.
- followers : 4871
- following : 731
facebook:
- url : https://facebook.com/schaefer2018
- username : schaefer2018
- bio : Perferendis eveniet ratione ut dolorem.
- followers : 3382
- following : 647
