When it comes to securing your network, Raspberry Pi secure tunnel is a game-changer. Think of it as a digital fortress that protects your data from prying eyes. Whether you're a tech enthusiast, a small business owner, or just someone who values privacy, this little device can work wonders for you. So, buckle up because we’re diving deep into the world of Raspberry Pi and secure tunneling!
Now, I know what you’re thinking. “Why should I care about Raspberry Pi secure tunnel?” Well, in today’s digital age, cybersecurity threats are everywhere. Hackers, data breaches, and online surveillance are real concerns. That’s where Raspberry Pi comes in. It’s not just a tiny computer; it’s a powerful tool that can help you create a secure connection to protect your sensitive information.
Whether you’re setting up a home network, running a remote server, or simply want to browse the web without worrying about being hacked, Raspberry Pi secure tunnel is your best bet. In this guide, we’ll walk you through everything you need to know, from the basics to advanced configurations. So, let’s get started!
- Molly Oconnells Net Worth Southern Charm Modeling Success
- Alexander Jerome Gould From Nemo To Weeds His Story
What Exactly is Raspberry Pi Secure Tunnel?
Let’s break it down. A Raspberry Pi secure tunnel is essentially a method of creating an encrypted connection between your device and another endpoint, like a server or another network. This tunnel ensures that all your data is safely transmitted without being intercepted by malicious actors. It’s kinda like having a secret passageway for your digital communications.
Here’s how it works: When you set up a secure tunnel using Raspberry Pi, your data is encrypted before it leaves your device. Once it reaches the other end, it’s decrypted so the recipient can access it. This process makes it nearly impossible for hackers to snoop on your activities. Cool, right?
Why Choose Raspberry Pi for Secure Tunneling?
There are plenty of reasons why Raspberry Pi is the go-to choice for setting up secure tunnels. First off, it’s super affordable. You don’t need to spend a fortune on expensive hardware to protect your network. Plus, it’s highly customizable, meaning you can tweak it to suit your specific needs. And let’s not forget the vibrant community of developers and enthusiasts who are always ready to help you out with tips and tricks.
Setting Up Raspberry Pi Secure Tunnel: Step by Step
Ready to set up your own Raspberry Pi secure tunnel? Don’t worry; it’s easier than you think. Follow these steps, and you’ll be up and running in no time:
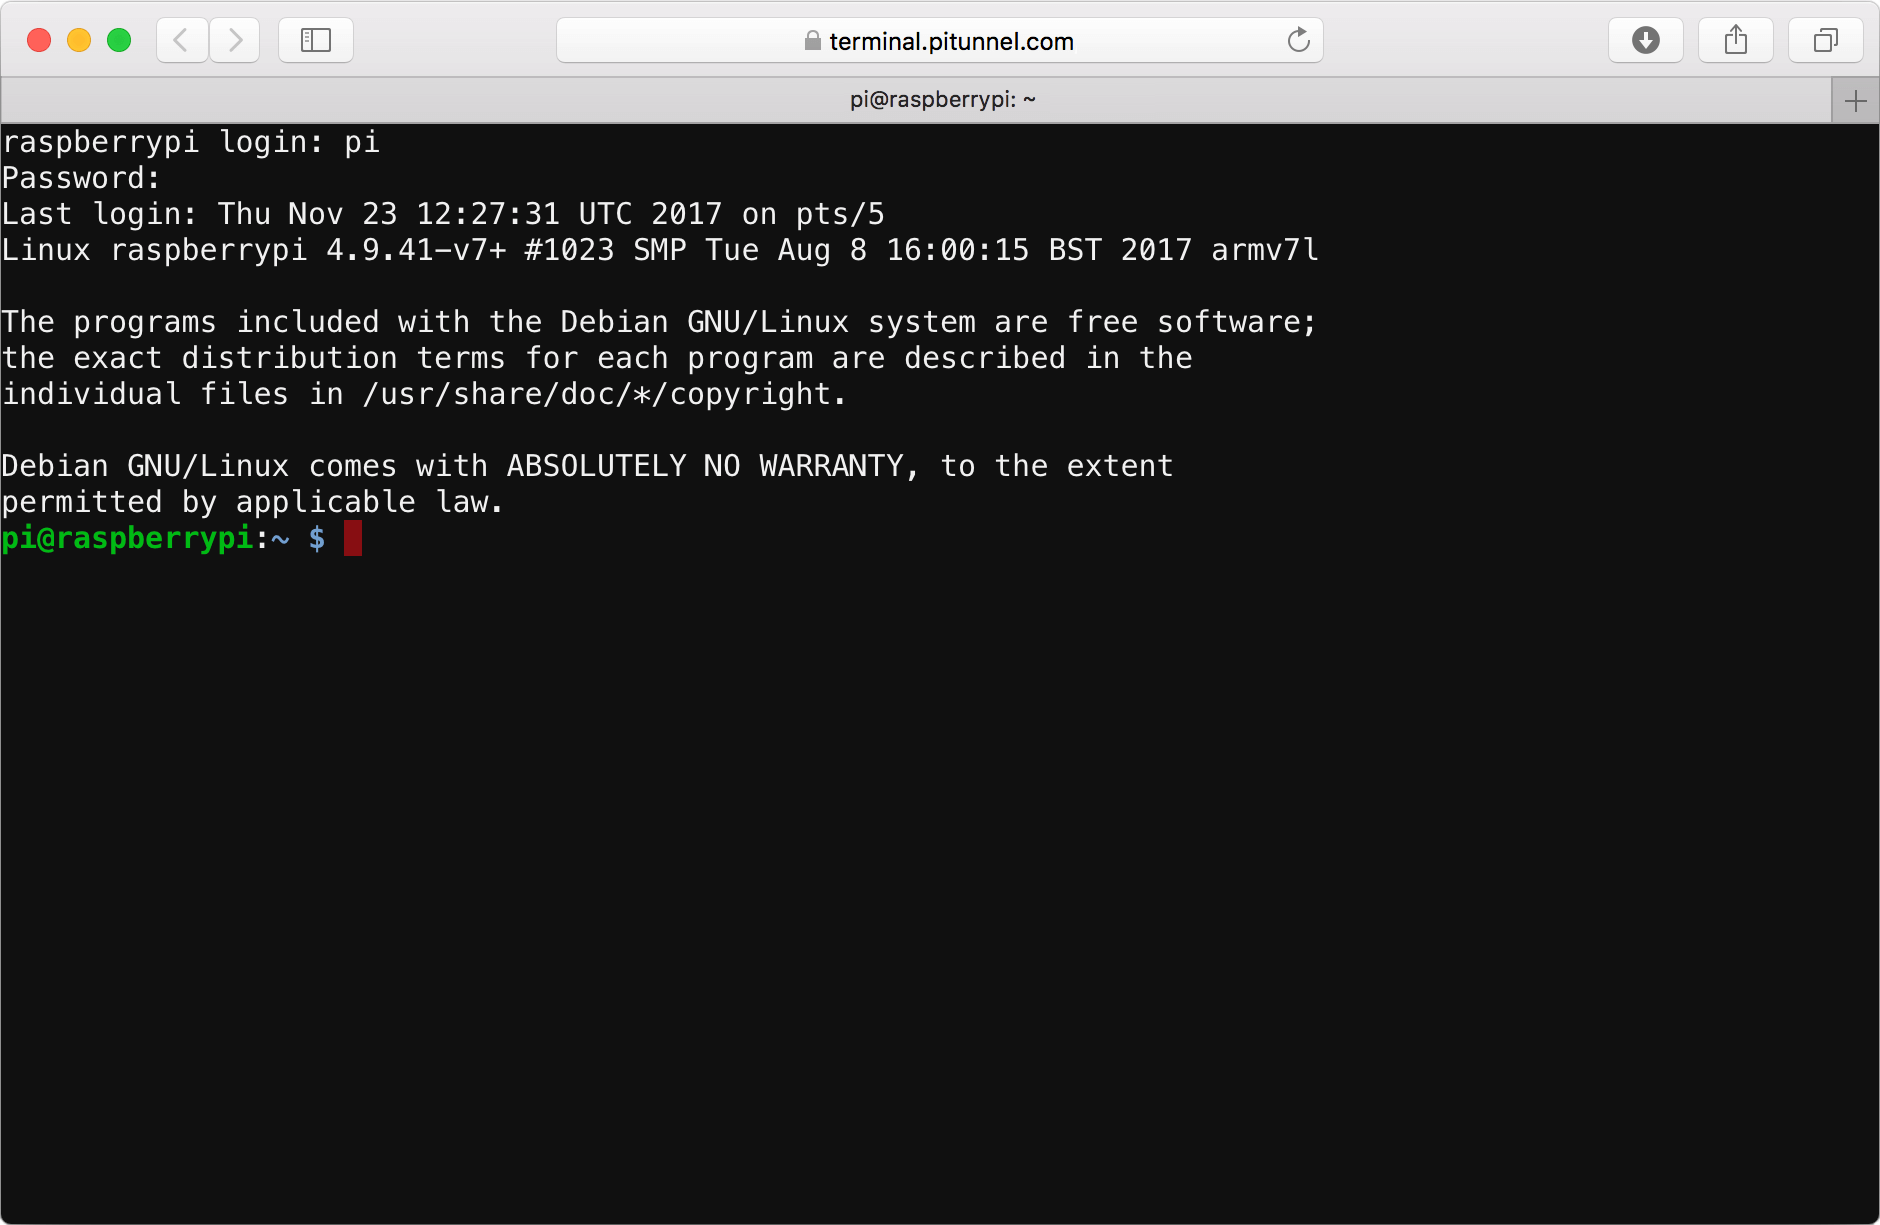
- Step 1: Get your Raspberry Pi ready. Make sure it’s powered on and connected to your network.
- Step 2: Install the necessary software. You’ll need tools like OpenSSH or WireGuard to create the secure tunnel.
- Step 3: Configure the settings. This involves setting up keys, certificates, and other security parameters.
- Step 4: Test the connection. Once everything is set up, verify that the tunnel is working as expected.
Remember, attention to detail is key here. Double-check all your configurations to ensure maximum security.
Tips for a Smooth Setup
Here are a few tips to make the setup process smoother:
- Use a reliable power supply to avoid any disruptions.
- Keep your Raspberry Pi firmware and software up to date.
- Consider using a static IP address for your Raspberry Pi to simplify the configuration.
The Benefits of Raspberry Pi Secure Tunnel
So, what do you get by setting up a Raspberry Pi secure tunnel? Let me tell you, the benefits are huge. For starters, you get enhanced security for all your online activities. Whether you’re sending emails, accessing cloud storage, or browsing the web, your data remains safe from prying eyes.
Another advantage is cost-effectiveness. As I mentioned earlier, Raspberry Pi is a budget-friendly option compared to other security solutions. Plus, it’s energy-efficient, so you won’t have to worry about skyrocketing electricity bills.
Use Cases for Raspberry Pi Secure Tunnel
Here are some real-world scenarios where Raspberry Pi secure tunnel can be a lifesaver:
- Remote Work: If you’re working from home, a secure tunnel ensures that your company’s sensitive data remains protected.
- Home Networking: Secure your home network and keep your family’s devices safe from cyber threats.
- IoT Security: With the rise of smart devices, securing your IoT network is more important than ever. Raspberry Pi can help you do just that.
Common Challenges and How to Overcome Them
While setting up a Raspberry Pi secure tunnel is straightforward, you might encounter a few challenges along the way. One common issue is misconfiguration. A small mistake in your settings can leave your network vulnerable. To avoid this, always double-check your configurations and refer to official documentation if needed.
Another challenge is performance. Depending on your Raspberry Pi model, you might experience some lag when handling heavy traffic. To mitigate this, consider upgrading to a more powerful model or optimizing your network settings.
Troubleshooting Tips
Here are some troubleshooting tips to help you overcome common issues:
- Check your firewall settings to ensure they’re not blocking the tunnel.
- Verify that all required ports are open and accessible.
- Look for error messages in the logs to identify the root cause of the problem.
Advanced Configurations for Raspberry Pi Secure Tunnel
Once you’ve mastered the basics, you can take your Raspberry Pi secure tunnel to the next level with advanced configurations. For example, you can set up a multi-hop tunnel to further enhance security. This involves routing your traffic through multiple servers before reaching its final destination.
Another advanced feature is traffic obfuscation. This technique disguises your encrypted traffic to make it look like regular internet traffic, making it harder for attackers to detect and block.
Best Practices for Advanced Users
Here are some best practices for advanced users:
- Regularly update your security protocols to stay ahead of emerging threats.
- Monitor your network traffic to detect any suspicious activity.
- Implement multi-factor authentication for added security.
Security Best Practices for Raspberry Pi
While Raspberry Pi secure tunnel provides excellent protection, there are other security measures you should consider. Start by securing your Raspberry Pi itself. Change the default password, disable unnecessary services, and keep your software updated.
Additionally, consider using a hardware-based security solution, such as a Trusted Platform Module (TPM), to further enhance your device’s security. These steps might seem small, but they can make a big difference in protecting your network.
Staying Ahead of Cyber Threats
Cyber threats are constantly evolving, so it’s crucial to stay informed and adapt accordingly. Follow cybersecurity news, attend workshops, and participate in online forums to learn about the latest trends and techniques. Knowledge is power, and the more you know, the better equipped you’ll be to protect your network.
Conclusion: Take Action Today
In conclusion, Raspberry Pi secure tunnel is an excellent solution for anyone looking to boost their network security. It’s affordable, customizable, and highly effective. By following the steps outlined in this guide, you can set up your own secure tunnel and enjoy peace of mind knowing your data is protected.
So, what are you waiting for? Take action today! Set up your Raspberry Pi secure tunnel, share this article with your friends, and let’s work together to create a safer digital world. Remember, cybersecurity is everyone’s responsibility, and with Raspberry Pi, you’ve got a powerful ally in the fight against online threats. Stay safe out there!
Table of Contents
- What Exactly is Raspberry Pi Secure Tunnel?
- Why Choose Raspberry Pi for Secure Tunneling?
- Setting Up Raspberry Pi Secure Tunnel: Step by Step
- The Benefits of Raspberry Pi Secure Tunnel
- Use Cases for Raspberry Pi Secure Tunnel
- Common Challenges and How to Overcome Them
- Advanced Configurations for Raspberry Pi Secure Tunnel
- Security Best Practices for Raspberry Pi
- Staying Ahead of Cyber Threats
- Conclusion: Take Action Today
Detail Author:
- Name : Weston Ortiz
- Username : spencer.kayla
- Email : mustafa.auer@hotmail.com
- Birthdate : 1987-11-30
- Address : 5974 Alejandra Streets Suite 759 Jarredhaven, MS 55965
- Phone : +1.561.381.3388
- Company : Orn, Ankunding and White
- Job : Stone Sawyer
- Bio : Quia eum sed sed provident. At itaque modi id iusto voluptatem harum. Illo sint voluptatem illum molestias. Perspiciatis nesciunt dolore distinctio consequuntur.
Socials
facebook:
- url : https://facebook.com/sabinastrosin
- username : sabinastrosin
- bio : Beatae quia omnis vero laudantium aliquid.
- followers : 5772
- following : 2983
tiktok:
- url : https://tiktok.com/@sabina.strosin
- username : sabina.strosin
- bio : Quod error vitae est dolor. Sunt quia odit ratione expedita.
- followers : 3251
- following : 2472
instagram:
- url : https://instagram.com/sabina8222
- username : sabina8222
- bio : Quia labore qui omnis eos quidem nihil. Quis dolorem quod quo voluptas asperiores vero error.
- followers : 4390
- following : 2851
twitter:
- url : https://twitter.com/sabina6475
- username : sabina6475
- bio : Ut velit eos quos eos. Est culpa ex nam consequuntur repudiandae est. Ab temporibus voluptate suscipit qui eaque quod rerum.
- followers : 1262
- following : 769

